Skip to end of metadata
Go to start of metadata
You are viewing an old version of this page. View the current version.
Compare with Current
View Page History
« Previous
Version 25
Next »
General Function Checklist
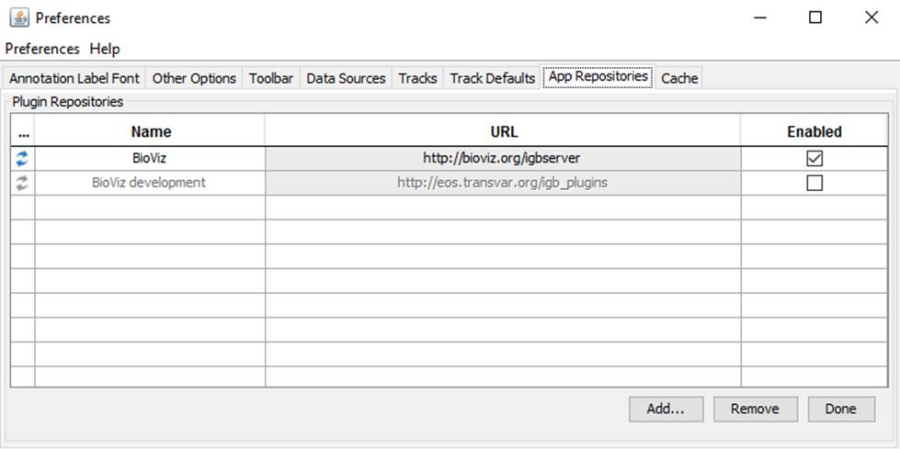
- All Default App Repositories appear in the App Repositories table (within IGB Preferences).
- Observation: The table matches the image below
- It is possible to add an additional apprepository to the repository list
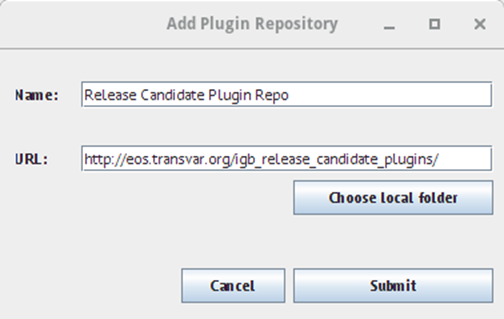
- Observation: confirm the repository is added to the repository table

- Select the Plug-ins tab at the bottom of IGB.
- Observation: There is a button with the text Launch App Manager (see below).
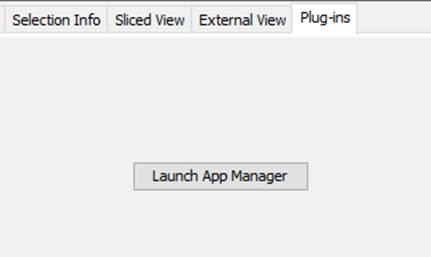
- Click Launch App Manager.
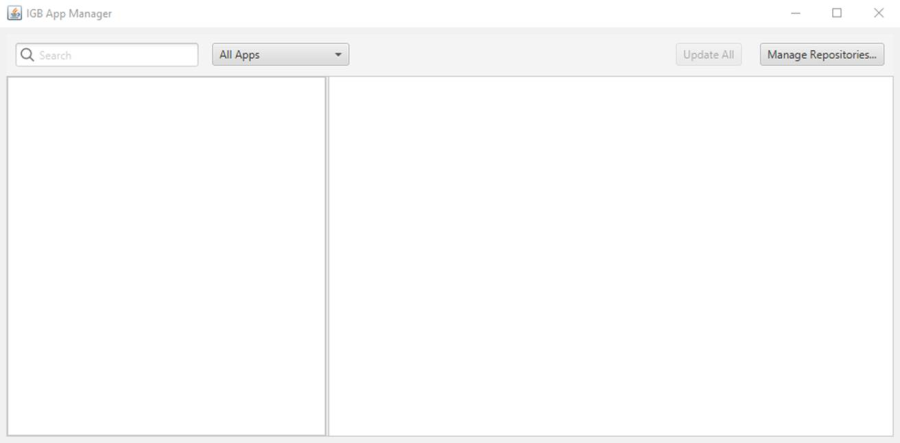
- Observation: The IGB App Manager should open and should look like the image seen below:
- Select the Manage Repositories… button (top-right corner of App manager).
- Observation: The App Repositories tab of IGB Preferences opens (see below).

- Select the empty checkbox under the Enabled column to enable the Bioviz development repo, and then click Done.
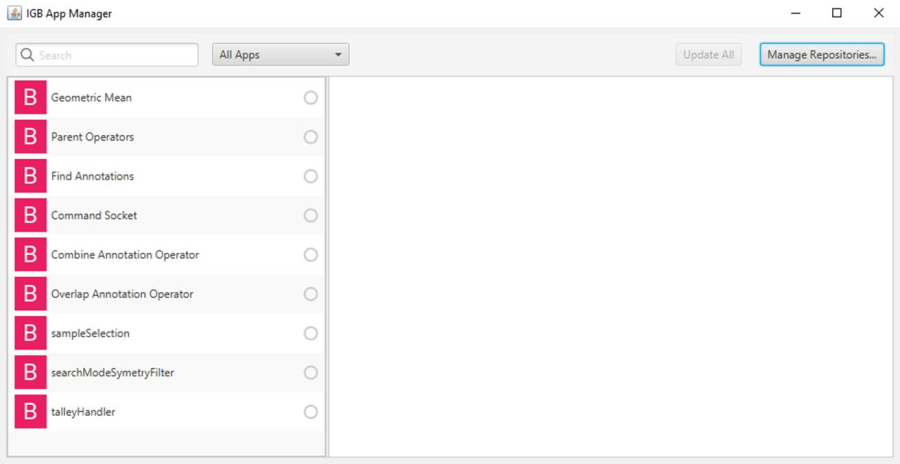
- Observation: The IGB App Manager lists the available development apps and the color of the app's icon changes to indicate that a different repo is now being used, as seen in the image below:
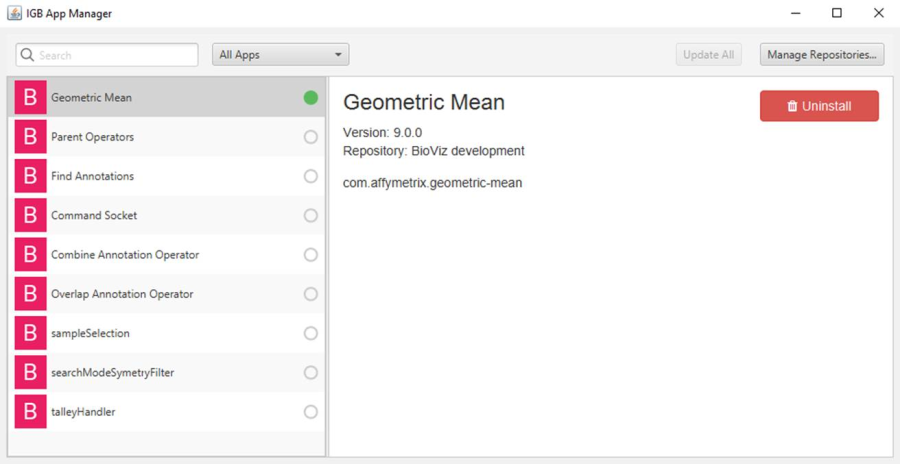
- View the IGB Console by selecting Help > Show Console and then install the Geometric Mean app by selecting it from the list in the App Manager and clicking the Install button.
- Observation: The Install button toggles to read Uninstall upon clicking Install and there is a green dot next to the app in the list to indicate an installed status (see below).
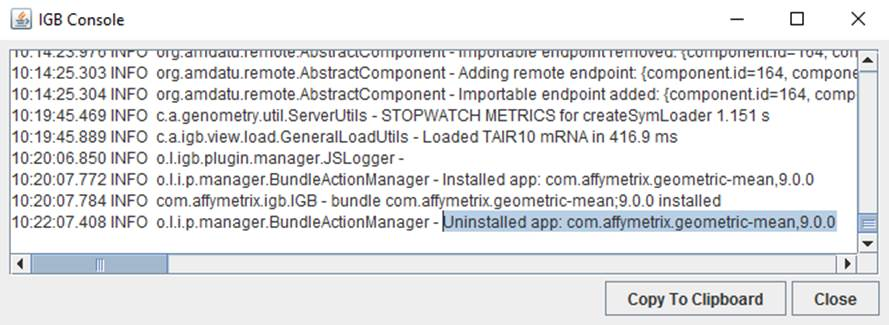
- Observation: The IGB Console will show a logging statement when the app is installed (see below).

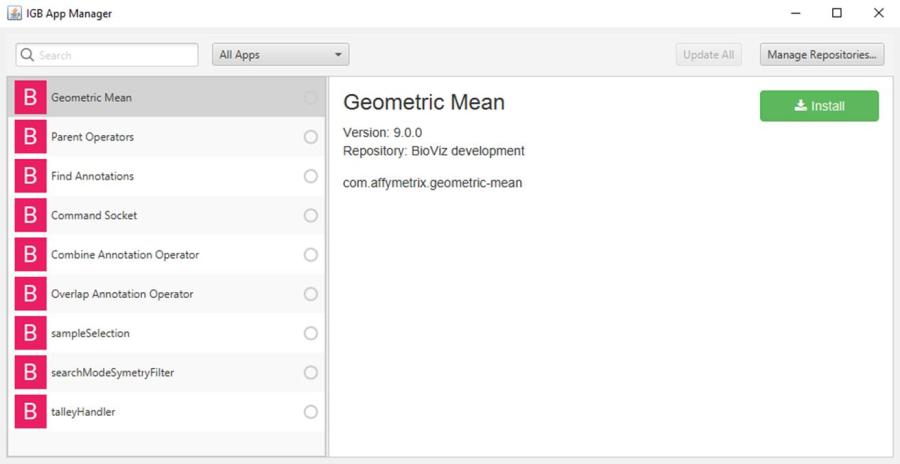
- Now, uninstall the Geometric Mean app by clicking the Uninstall button in the IGB App Manager.
- Observation: The Uninstall button toggles to read Install upon clicking Uinstall and the green dot next to the app in the list that indicates the installed status is removed (see below).
- Observation: The IGB console will show a logging statement when the app is uninstalled (see below).
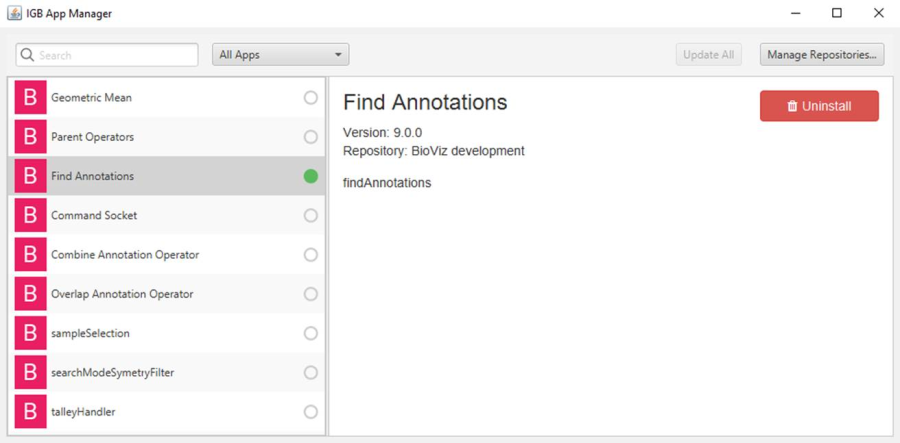
- Now install the Find Annotations app by selecting it from the list in the App Manager and clicking Install.
- Observation: The Install button toggles to read Uninstall upon clicking Install and there is a green dot next to the app in the list to indicate an installed status (see below).
- Observation: When the app is installed, a new Find Annotations tab appears at the bottom of IGB (see below).
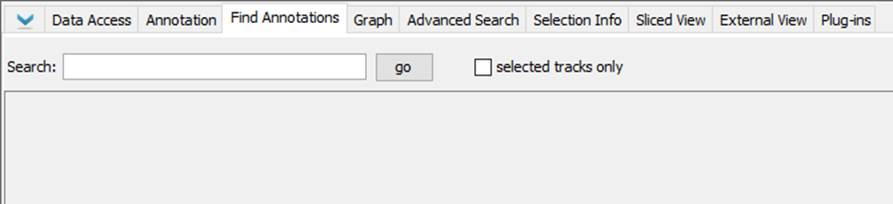
- Uninstall the Find Annotations app using the IGB App Manager.
- Observation: When the app is uninstalled, the Find Annotations tab disappears from IGB (see below).

- Close the IGB App Manager and reopen it by selecting Tools > Open App Manager (as seen below).
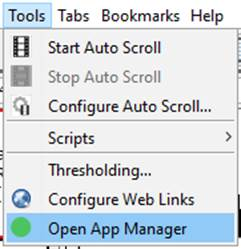
- Observation: The IGB App Manager should open.
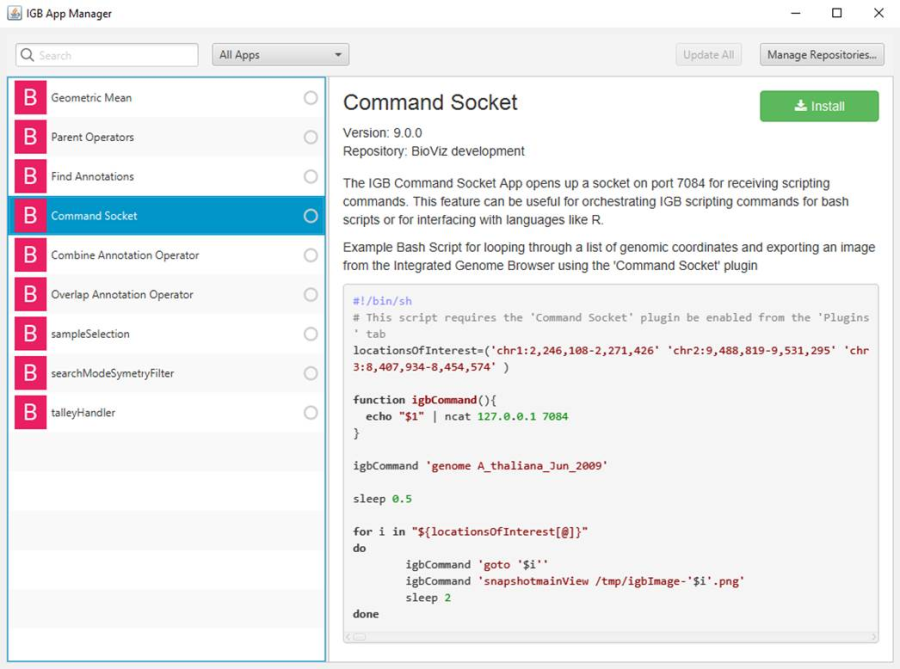
- Select the Command Socket app from the list in the App Manager.
- Observation: The Command Socket app contains content in the App Manager that provides additional details about the app, as seen below (this ensures that the App Manager is using the README files appropriately).
- Install the Command Socket app.
- Click the Manage Repositories button and remove the checks from the checboxes for all of the repos except the BioViz repo.
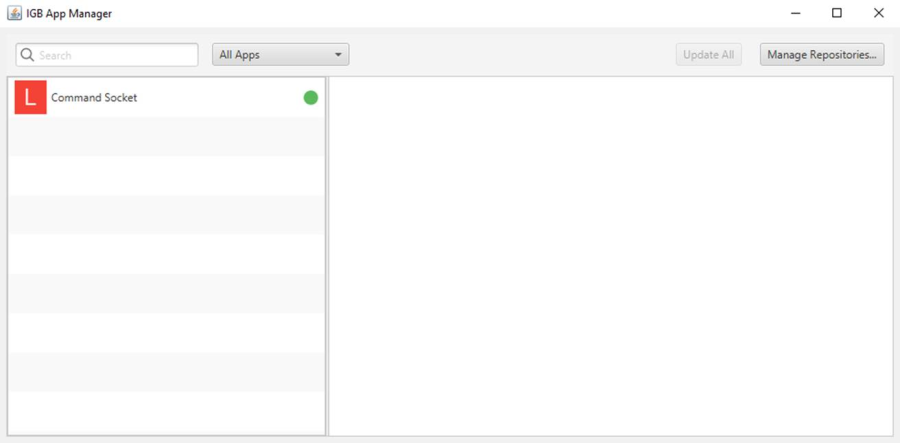
- Observation: The list in the App Manager should update to remove all apps except for apps from the BioViz repo (see below). Also, the Command Socket app should still be installed (indicated with a green dot next to the app), but the letter next to the app's name should have changed to an "L" to indicate that the app is now installed locally, not from a repo (see below).
- Once more, click the Manage Repositories button and remove all of the app repos from the App Repositories table by selecting the repo and clicking Remove.
- Observation: The App Manager should not change (it should still display the Command Socket app, installed locally, as seen below).
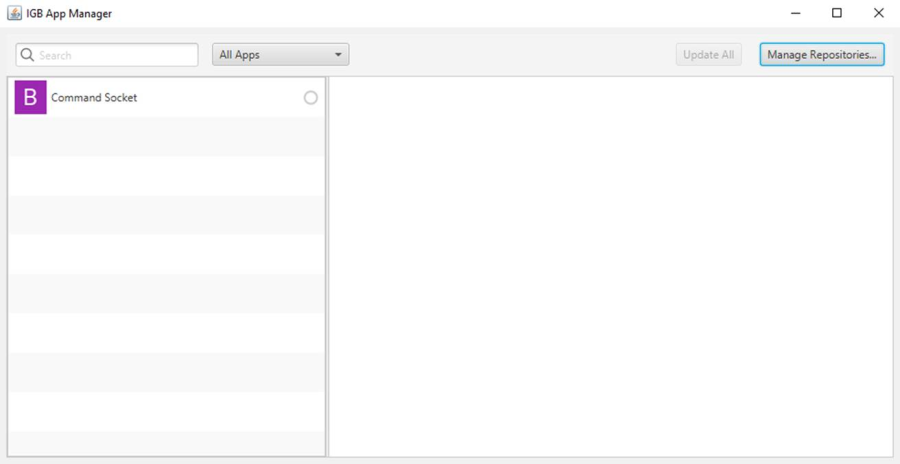
- Finally, uninstall the Command Socket app by selecting it and clicking Uninstall.
- Observation: The App Manager appears empty (as seen below).