Since IGB 8.3.0 (released 1/22/15), IGB has made use of a native platform installer for Windows, Mac, and Linux.
Test the IGB installer for each operating system both before and after the new version is released.
Test the automatic version updater after the new version is released.
Go to the Loraine Lab bitbucket repository for IGB, then download and run the most recent main-JDK8 branch installers for your operating system.
After the new version release of IGB is complete and available on the bioviz.org IGB download page, follow the steps below for post-release testing.
After the release of a new version of IGB, follow the instructions to download the now outdated previous version of IGB. Running this IGB version should trigger the updater.
This will let us test that the IGB updater is working properly to automatically update old versions of IGB to the new release.
Start by following this link to go to the IGB Downloads page: http://bioviz.org/download.html
Select the word here in the sentence, "Click here for other ways to download IGB" (as seen below).

Scroll to the middle of the page and select the word sourceforge in the sentence, "Older releases of IGB are available at sourceforge" (as seen below). This will take you to SourceForge where you can download older versions of IGB.

Click the folder for the second most recent version of IGB. For example, the image below shows IGB version 8.5.2 as the most recent version, so for testing purposes we will need to download IGB version 8.5.1.
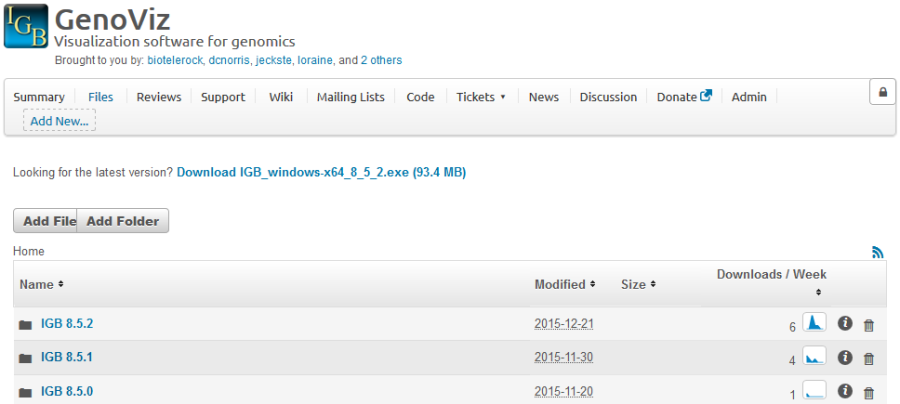
Once inside the appropriate folder, select the proper download file for your operating system to download that version of IGB. Once downloaded, open the file to begin the installation. The IGB Installer will launch upon opening the downloaded file.
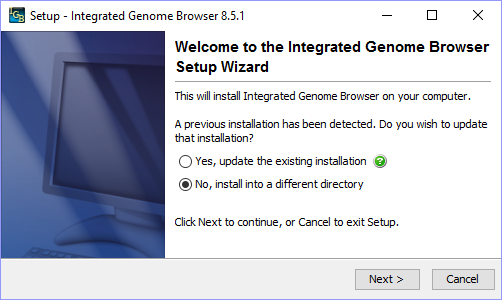
Note: For testing purposes, it can be helpful to install different versions of IGB to their own folder rather than replacing your previous IGB installation. This will allow you to quickly open different versions of IGB to compare while testing. |
To install this version of IGB to its own directory, select No, install into a different directory on the IGB Setup Wizard Welcome screen and then select Next >.
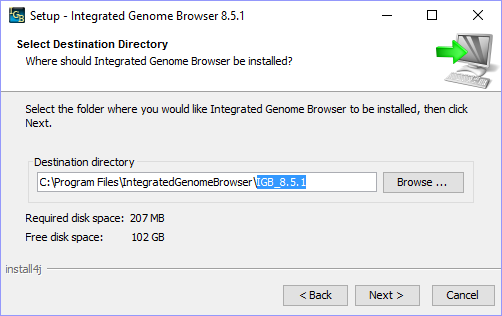
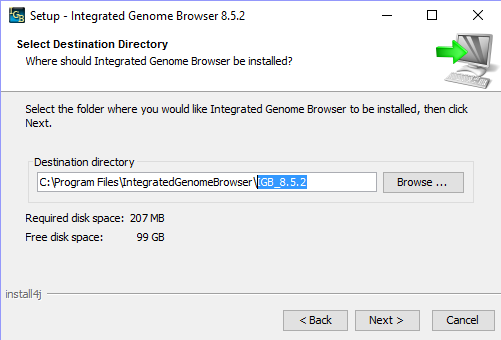
In the Destination Directory text box, enter the path to your desired installation directory and click Next >. I personally like to create an "IntegratedGenomeBrowser" folder within "Program Files" and then install each version of IGB into its own folder within the "IntegratedGenomeBrowser" folder, as seen below:
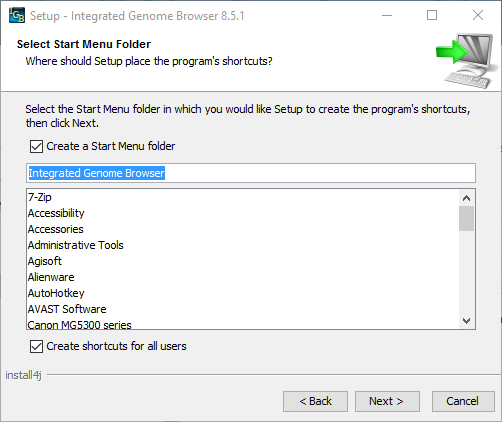
If you wish to test the creation of a Start Menu folder then make sure the checkbox is enabled for Create a Start Menu folder and select Next> (see below).
Make sure the checkbox is enabled for Create a desktop icon and select Next > (see below).
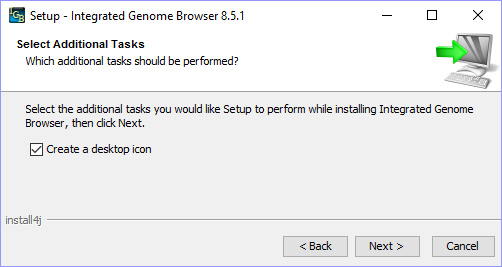

Rename this Desktop Shortcut to include the IGB version name, as seen above.
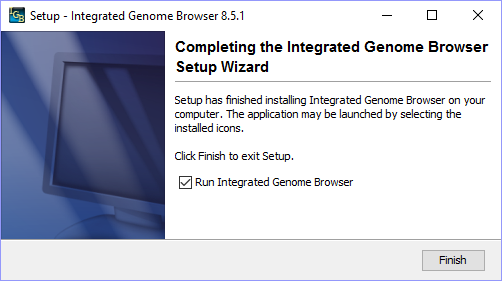
Make sure the checkbox is enabled for Run Integrated Genome Browser and click Finish.

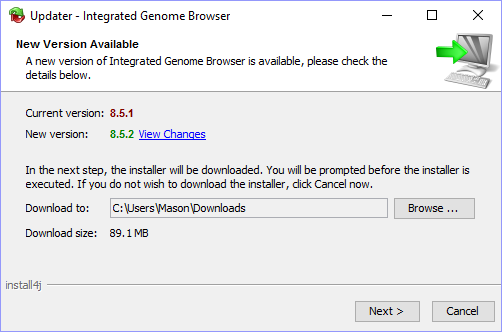
Select Next > to download the most recent version of IGB to the specified directory.
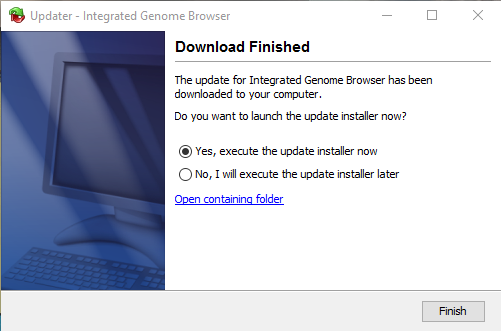
Select Yes, execute the update installer now and click Finish.
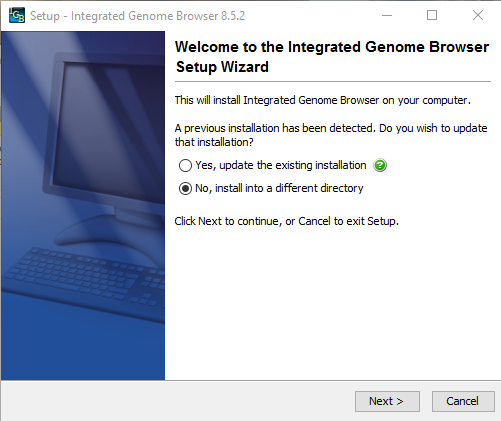
Select No, install into a different directory and then click Next >.
Install this version of IGB to its own directory, as seen in the image below:
Continue and finish the IGB Setup Wizard to install the most recent version of IGB.
Once it is installed, launch IGB.

Now return to the IGB Downloads page and reinstall the most recent version of IGB, replacing the current installation directory in the process: