General Function Checklist
- Protannot can be launched from IGB
...
...
- Install the ProtAnnot plugin through the IGB App Manager (Tools > Open App Manager)
- It may be helpful to watch this How to use ProtAnnot YouTube video if you are unfamiliar with using ProtAnnot.
- Open the A_thaliana_Jun_2009 genome.
- Navigate to the following gene: Chr1:2,257,247-2,260,234
- Select the AT1G07350.1 and AT1G07350.2 gene models by shift-clicking both models. Make sure that the full model is selected, and not an individual exon.
- Select the Tools Menu.
- Select Start ProtAnnot.
- ProtAnnot is launched from IGB.
- Checkpointsr45a mac
- linux
- windows
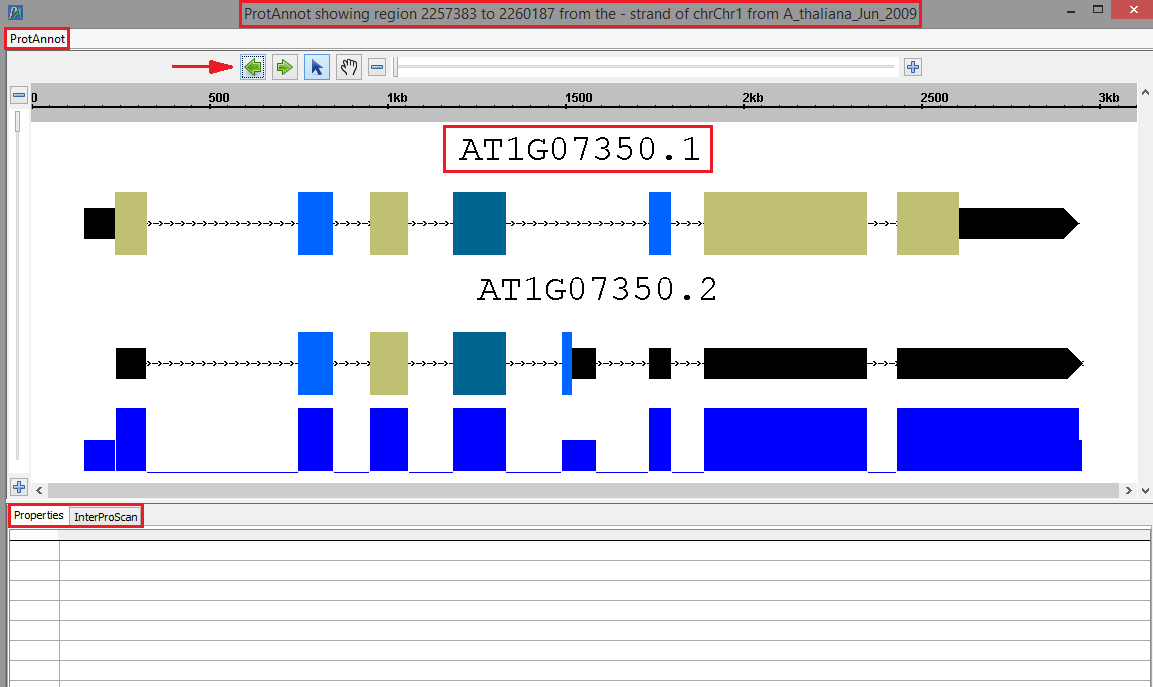
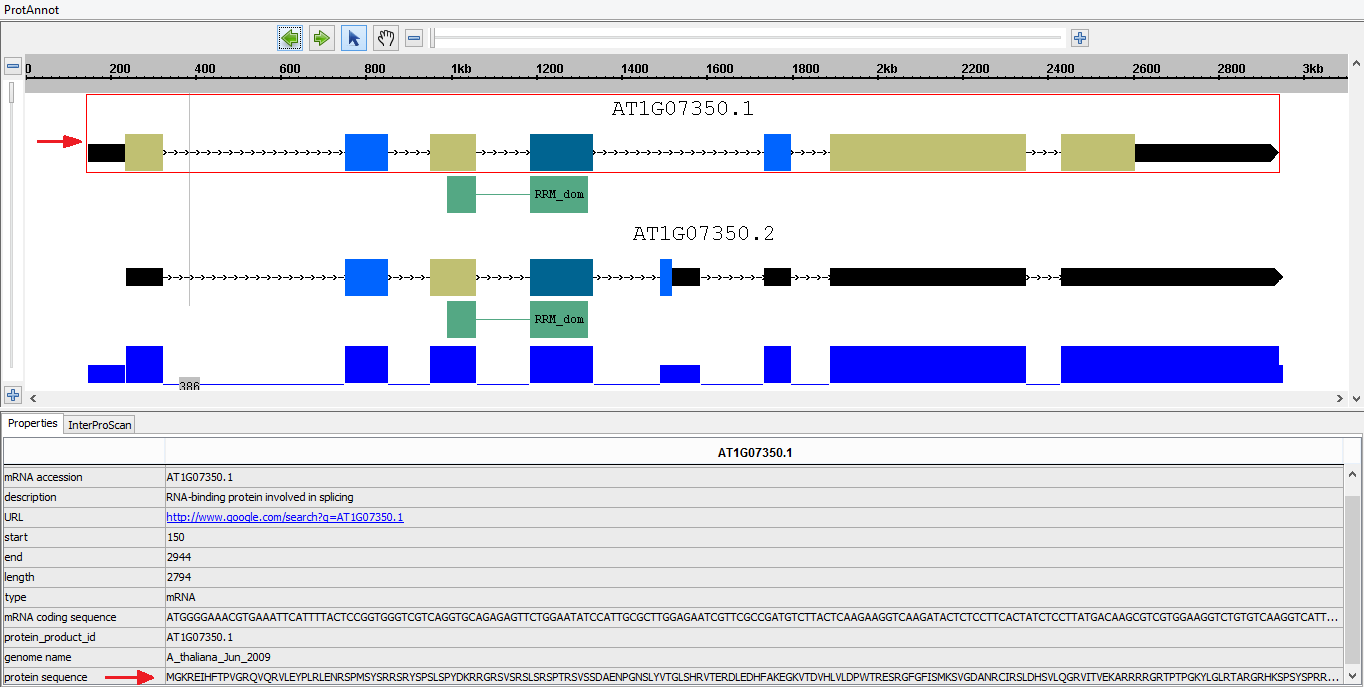
Your selected gene model(s) should look as follows when loaded into ProtAnnot
...
; take note of the following key items in red
...
:
- The ProtAnnot menu
- mac
- linux
- window
- The navigation and zoom bar
- mac
- linux
- windows
- The selected gene model(s) name
- mac
- linux
- windows
- The Properties and InterProScan tabs
- mac
- linux
- windows
- The ProtAnnot window title should contain
- contains the absolute sequence coordinates, strand direction, contig name, and the genome version.
- mac
- linux
- windows
...
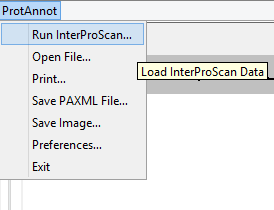
- Select the ProtAnnot
...
- menu.
- Select
...
- Run InterProScan
...
- menu item.
...
...
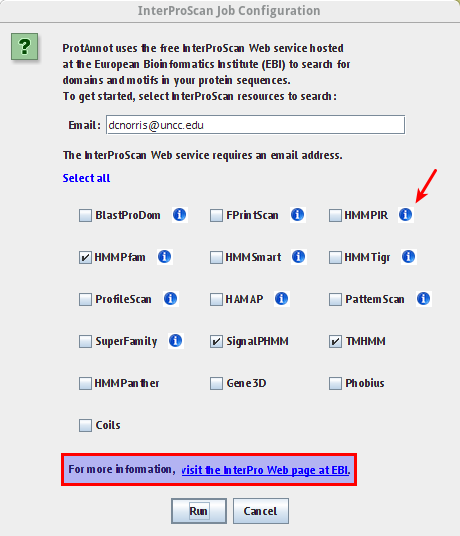
The InterProScan Job Configuration window
...
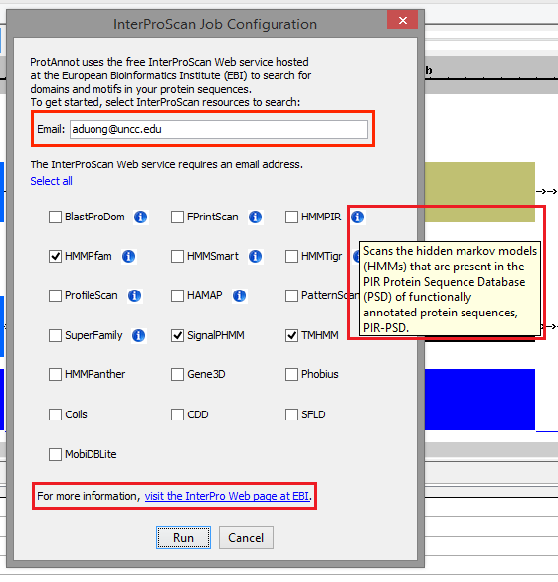
- Verify tool tips in the information icon wrap appropriately
- Verify the link in the highlighted box below links to the appropriate InterProScan about page
...
should look as follows:
- Text is wrapping correctly for the information icon.
- mac
- linux
- windows
- The information link directs to the appropriate "About InterPro" page.
- mac
- linux
- windows
- Provide an email address in the Email field.
- An email address is required for running InterProScan. Otherwise, InterProScan may not return jobs.
- Click Run.
- Select the InterProScan tab.
- All job statuses are completed with a status of Finished.
- mac
- linux
- windows
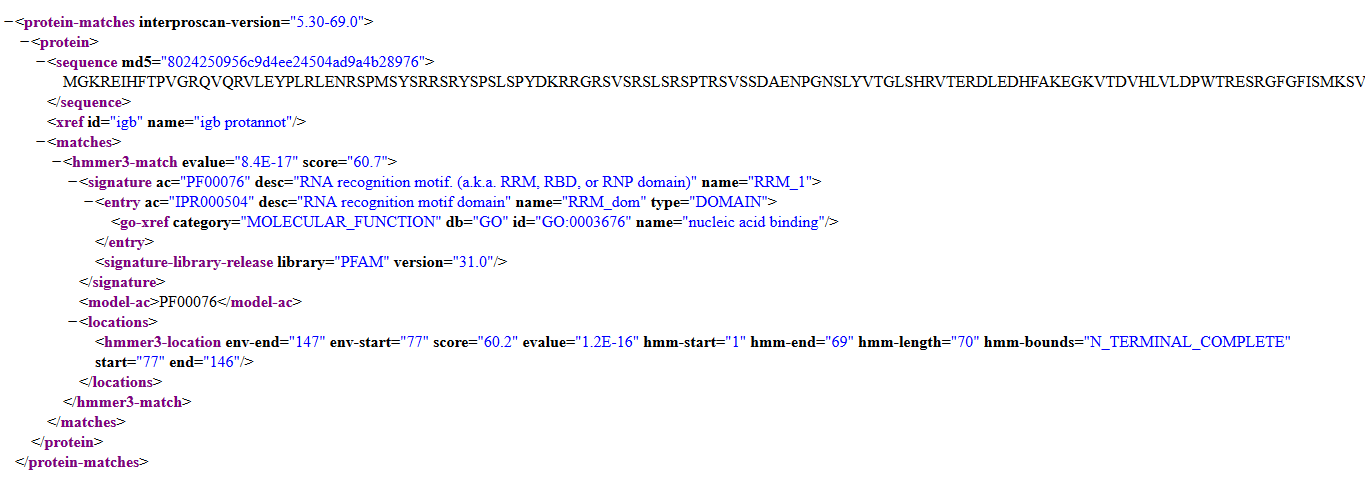
- Clicking on the result cell opens the result xml on the InterProScan website.
- mac
- linux
- windows
- Select the Properties tab.
- In the display window, select a gene model to open the Properties tab.
- Exons have the correct protein sequences
...
- Select an InterProScan result and verify that the properties are correctCorrect start
- .
- mac
- linux
- windows
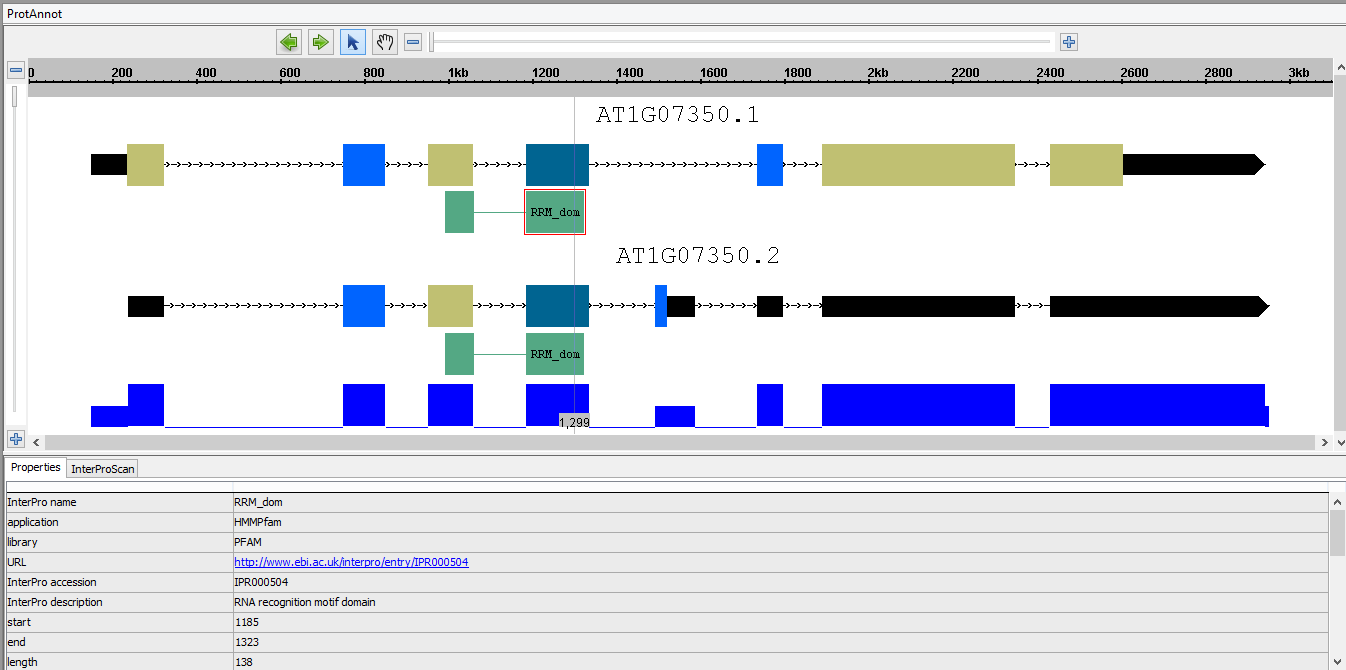
- In the display window, select a protein annotation to open the Properties tab.
- The following properties should be present and correct:
- Application and library name
- mac
- linux
- windows
- Functional URL link
- mac
- linux
- windows
...
- Start, end, and length .
- Functioning URL when clicked
- Application and library name are present
- coordinates
- mac
- linux
- windows
- Run the InterProScan again by selecting Run InterProScan under the InterProScan tab.
- Once the jobs are running, select Cancel All Jobs under the InterProScan tab.
- Job statuses are Cancelled, and there are no exceptions in the Log.
- mac
- linux
- windows
- Select ProtAnnot in the top left of the ProtAnnot window, and then choose Save Image...
- Save the image to your machine, then open the file.
- The image is viewable and saved appropriately.
- mac
- linux
- windows

